We’re back at it with the talented Revel team, this time to bring you an awesome Felt Word Art DIY project. The great thing about this is that it’s completely flexible and it can be displayed in a kid’s room, a bathroom, a mudroom, you name it! You choose your saying, you choose your colors, we just help you get it done. Let’s get started…
Step 1: GATHER YOUR SUPPLIES
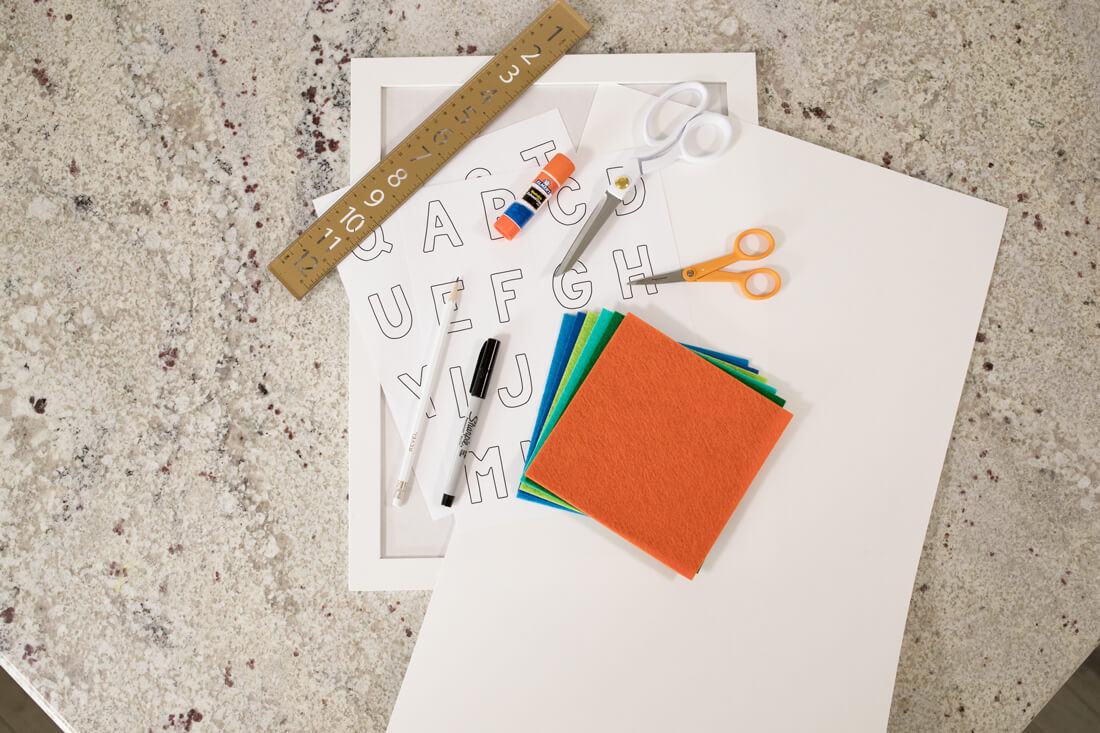
Your supply list should include:
Alphabet Print, Felt (in colors of your choice), Pencil, Sharpie, Scissors, Glue Stick, Ruler, Cardstock Paper and Picture Frame.
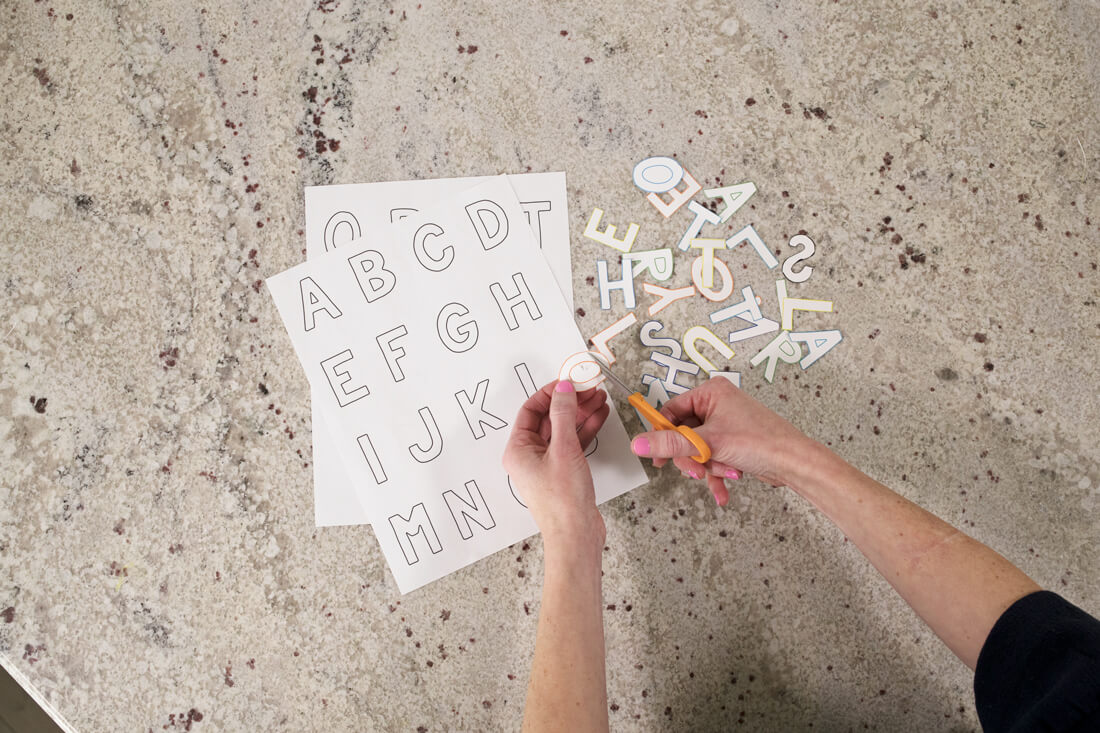
Step 2: CUT OUT YOUR LETTERS
Make sure you cut out the letters you that need for your sign on paper first, you’ll need these for Step 3!
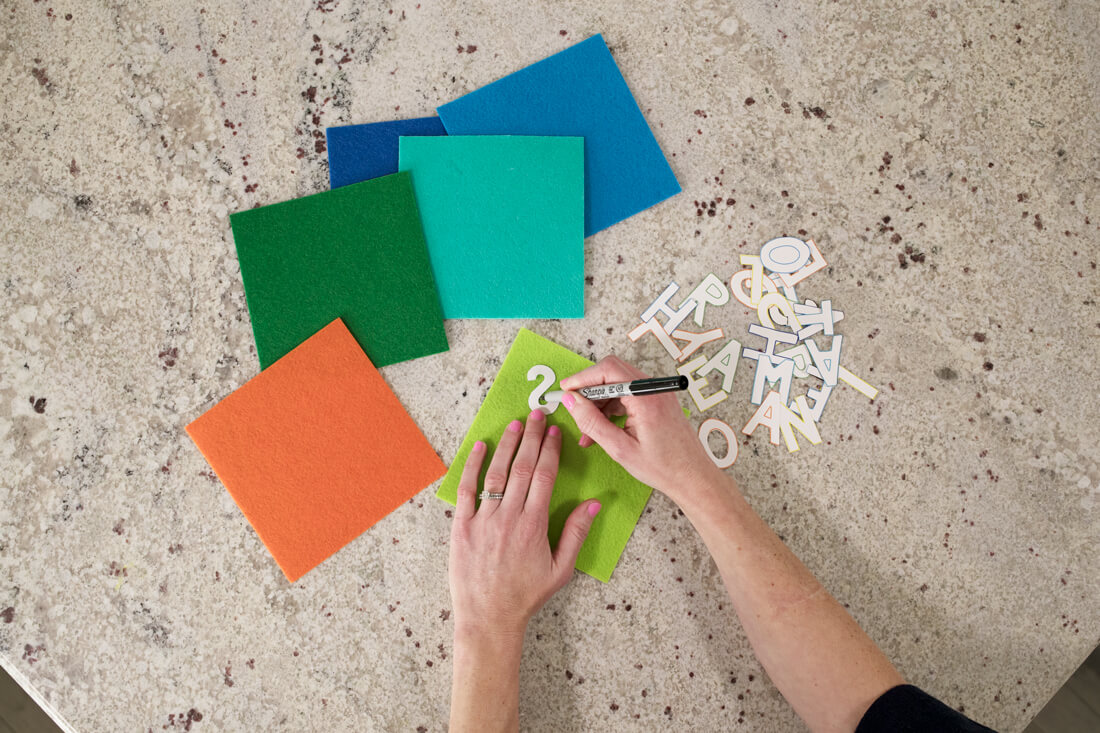
Step 3: TRACE AND CUT FELT LETTERS
Take the paper letters and trace them backwards onto the felt, using a fine point Sharpie. Then, cut the letters out. Note:By tracing them upside down, you won’t see any Sharpie marks when you paste them onto your cardstock.
Step 4: GLUE FELT LETTERS
This one is easy, you just take your glue stick, apply glue to the back of your felt letters and adhere them to the paper.

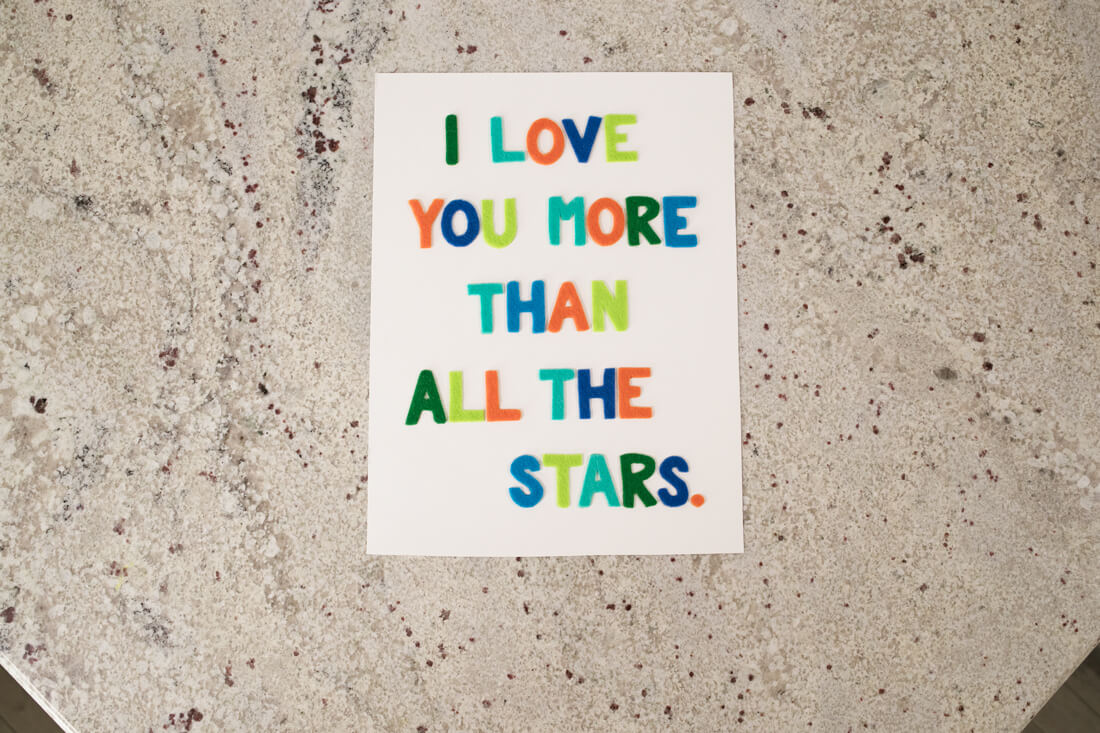
Step 5: YOU’RE DONE (ALMOST)!
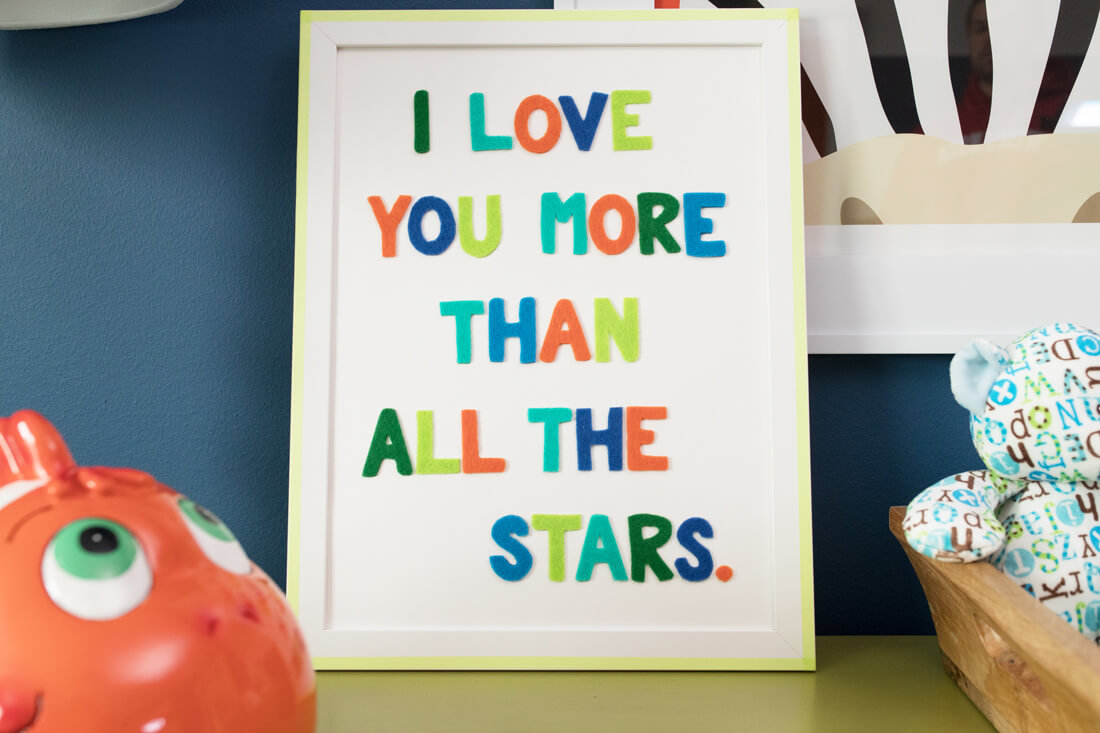
It really was that easy! And, doesn’t it look great??
Step 6: FRAME IT
Pop that bad boy into a frame of your choosing, a document frame would work great for standard paper. We added a bit of washi tape the edges of this guy to dress him up a little bit.
Want to see how it all came together, check out our video below! Like the kitchen we were working in and the nursery it’s displayed in? We do too! Why that’s our very own Furnished Model in Birchwood Point (Madison West). You can visit this home during our open house hours, typically open 11am to 3pm daily, closed on Thursdays.